Platonic Bass Amp
2025
After many years of wanting a bass guitar, I finally bought myself one. The tipping point was my daughters (on drums and guitar) needing a bass player, and as a former guitarist I always thought it looked like fun. And, I could fulfill another longtime wish-- to build an amplifier.
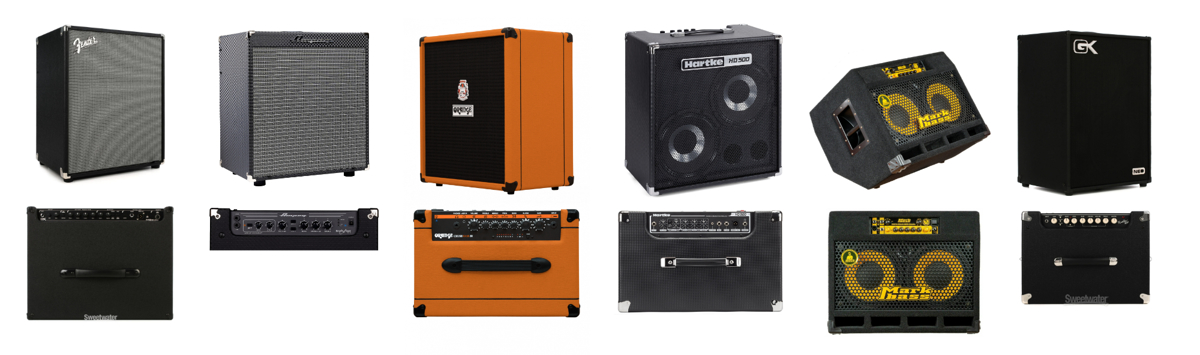
Beginning with some light research into what's out there, I considered size, form factor, CMF, wattage, and price range. I decided on an all-in-one "combo amp" big enough to play a small gig, with basic functionality and reasonably high-quality sound, within a $500-1000 budget.
For the electronic and acoustic design, I experimented with the Gemini LLM as a research assistant. I defined my design goals and ideas, and framed technical questions with a grounding in practical experience. Augmenting my "enough to be dangerous" technical knowledge, the AI helped me through some complex topics like signal path optimization and power supply filtering.
Based on a popular solid-state pre-amp clone circuit, the first stage is inexpensive yet effective. From there the signal is switched to either the 100W power amplifier (driving a 12" transducer), a small headphone amplifier, or an off-the-shelf Bluetooth audio transmitter module.
DC power is provided by a simple but clean linear power supply with a large toroidal transformer, and smaller linear regulators for everything but the power amp.

With the electrical system drafted, I selected components and laid them out roughly in the PCB editor to get a sense of scale. Considering the wattage and components, Gemini advised a sealed cabinet volume of 1-1.5 cubic feet. At this point I had enough information about the internal architecture to start thinking about form factors.

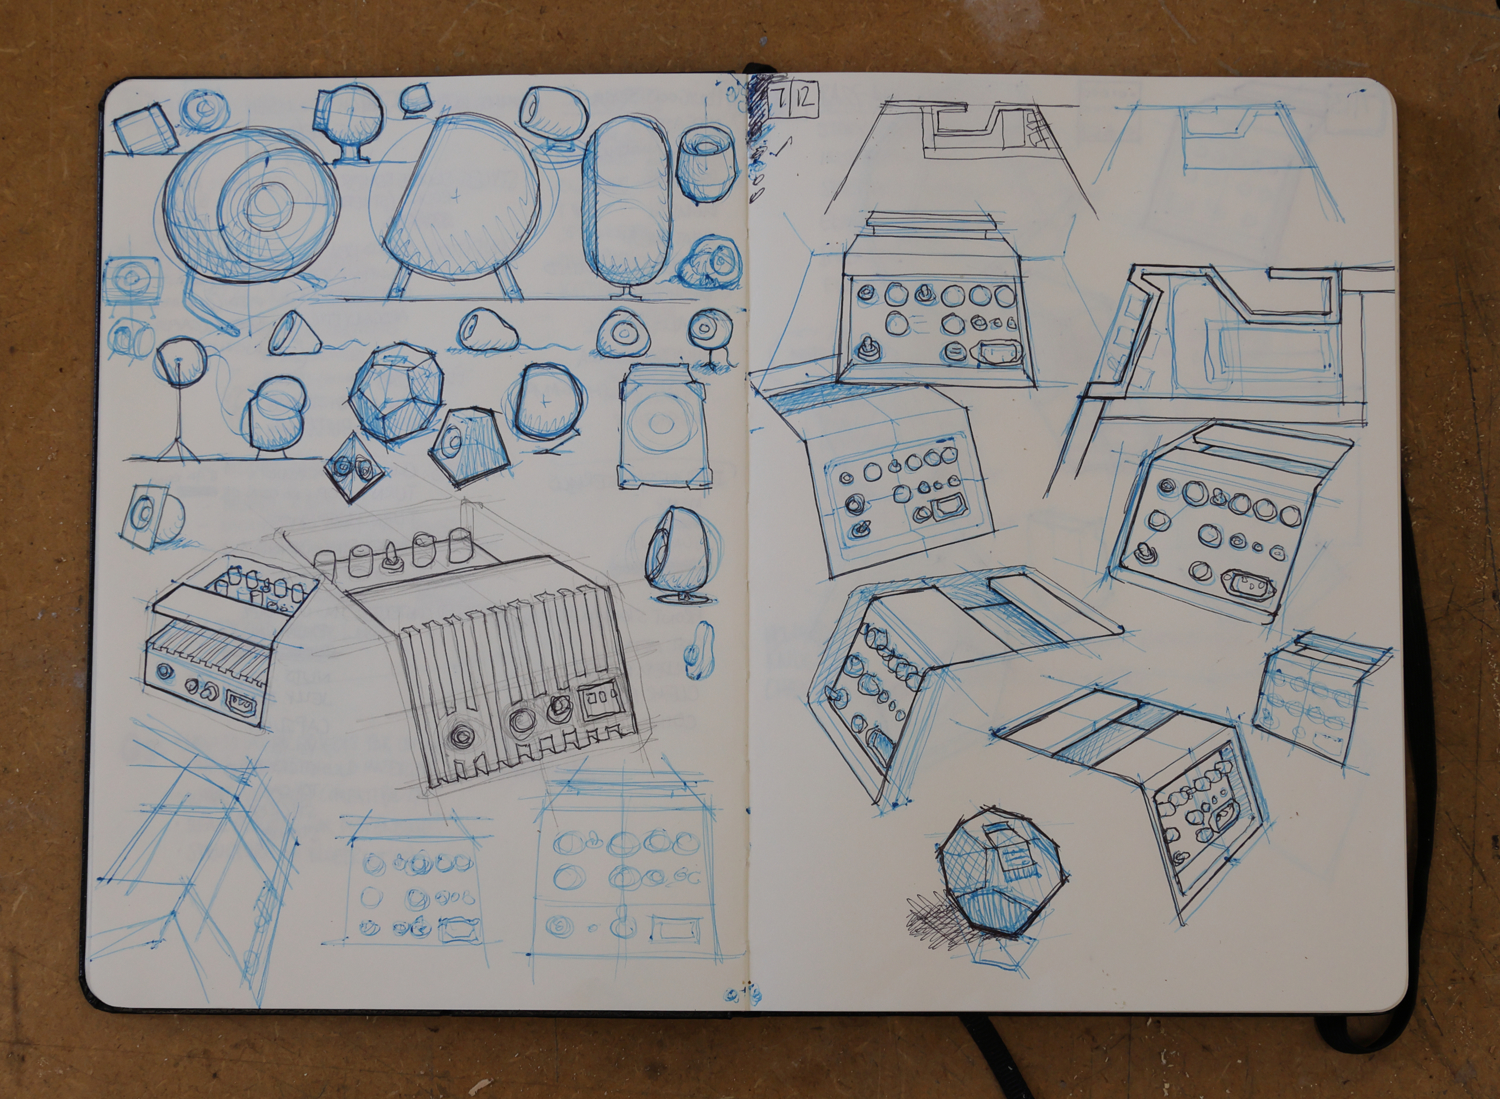
Generally speaking, the ideal acoustic cabinet is a sphere, as it contains the given volume with the least surface area, and avoids problematic internal reflections. I sketched a few ideas using fiberglass, which would allow for unlimited forms. But ultimately I had a concept that could utilize plywood, which is a good match for the acoustic and mechanical requirements, and is commonly used for amplifiers.
From the sphere I explored some platonic solid forms and quickly arrived at a dodecahedron. Three adjacent sides comprise the grille, with a protruding baffle to maximize internal volume. I envisioned an aluminum assembly intersecting the back edge, combining the electronics, interface, heatsinks, and handle. Referencing my PCB design and components, I sketched some ideas for the layout.

As ideas materialized, I moved between Fusion, Blender, and 3D printed mockups to check size and scale. After a few iterations of 1:1 mockups I had a good direction, and moved on to the UI layout.
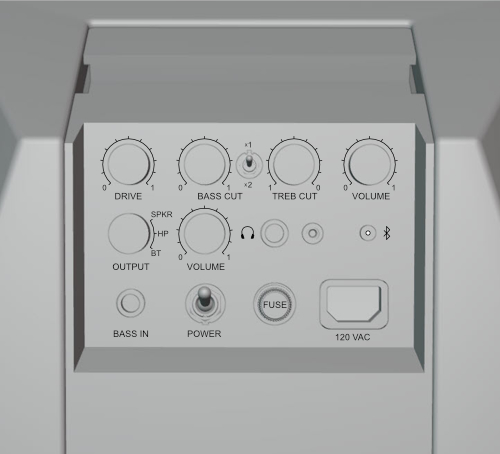
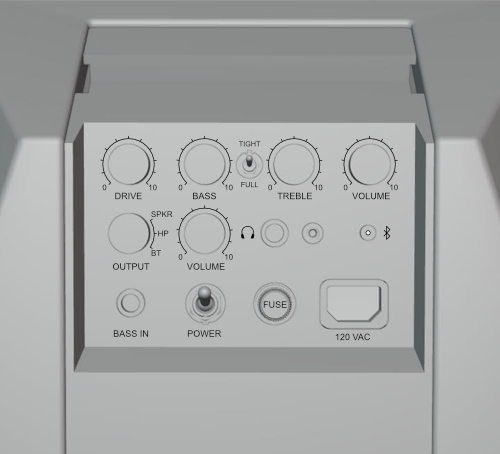
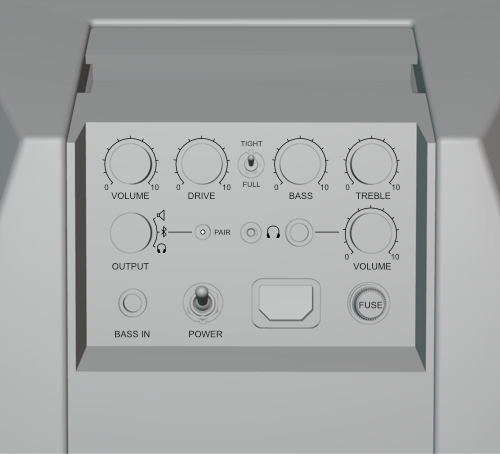

Back in Fusion, I moved the large transformer around until I found a position that was a safe distance from the sensitive electronics and transducer. Electrical noise can be a big problem, so I oriented the transformer's weak axis with the pre-amp electronics as a mitigation strategy. The AC receptacle, fuse, and switch moved down near the transformer to spread things out a bit, and to group the higher AC voltage stuff together for shielding.
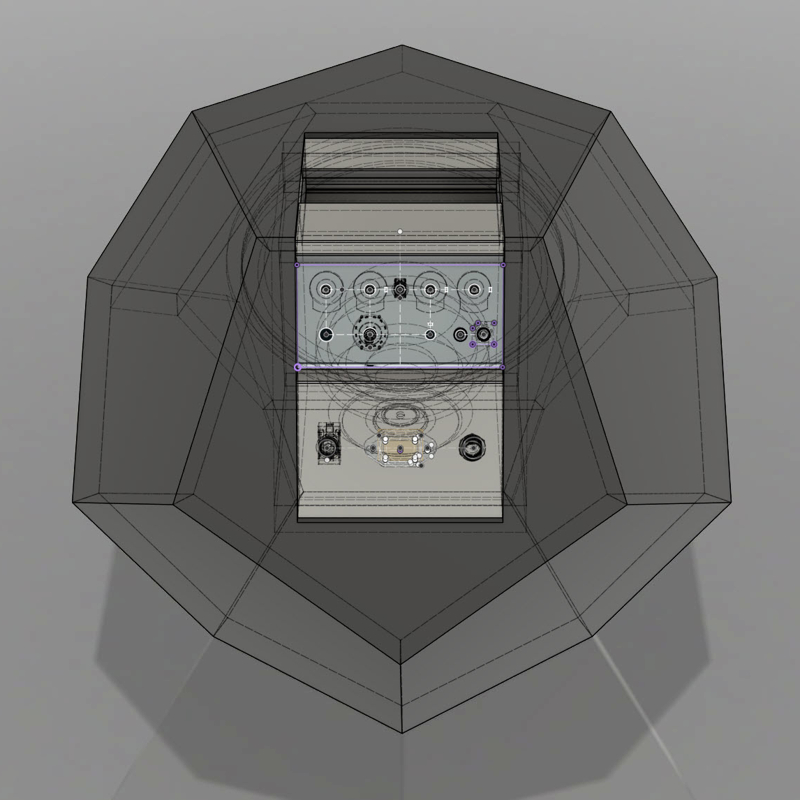
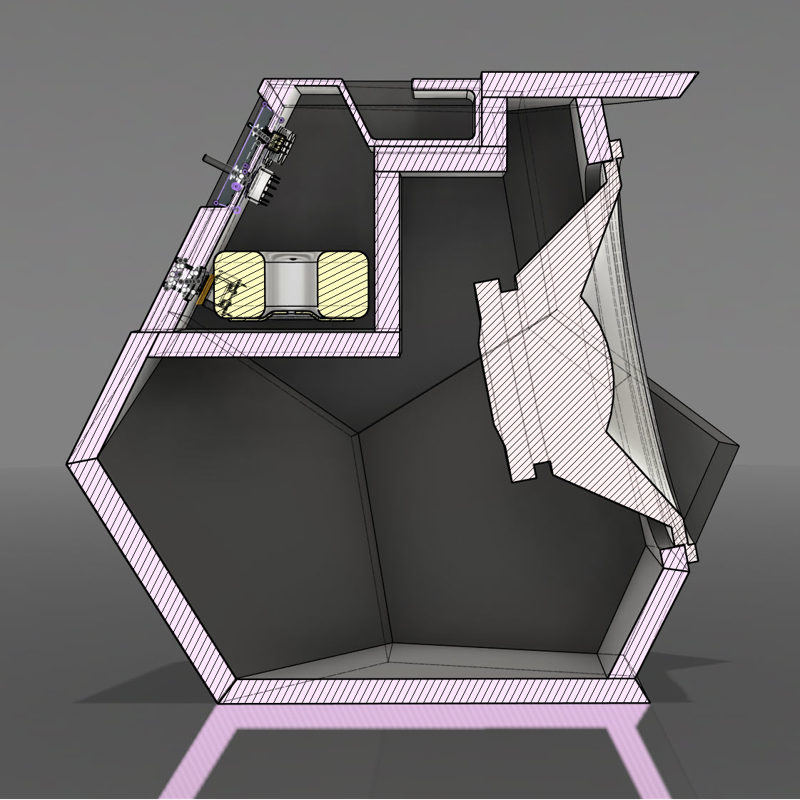
Confident in the general layout and space allowance, I finally started building the cabinet. I had a big leftover piece of 3/4" birch plywood of questionable quality, which is perfect for prototyping.
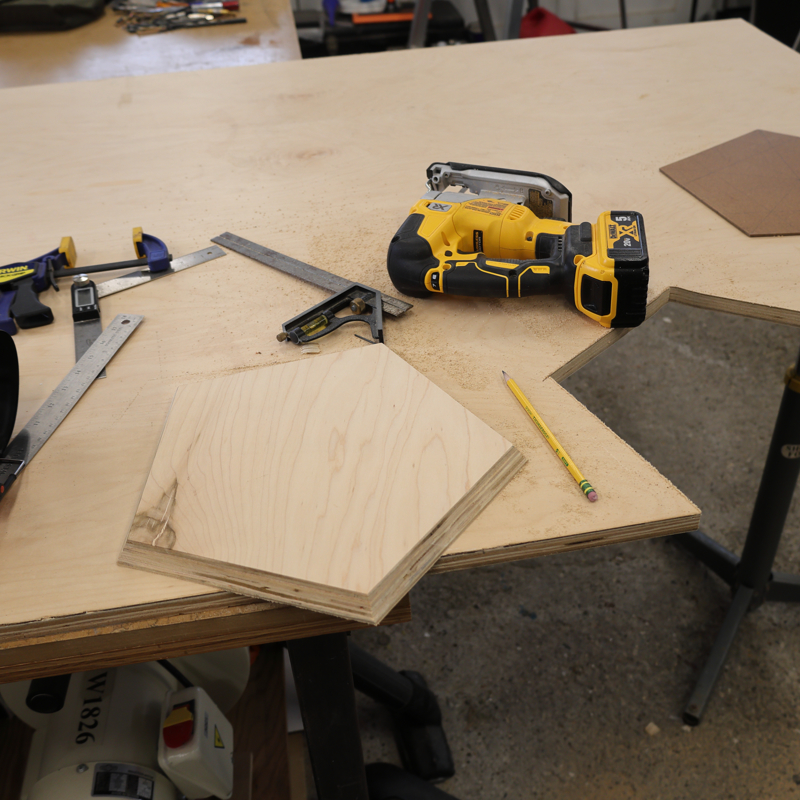


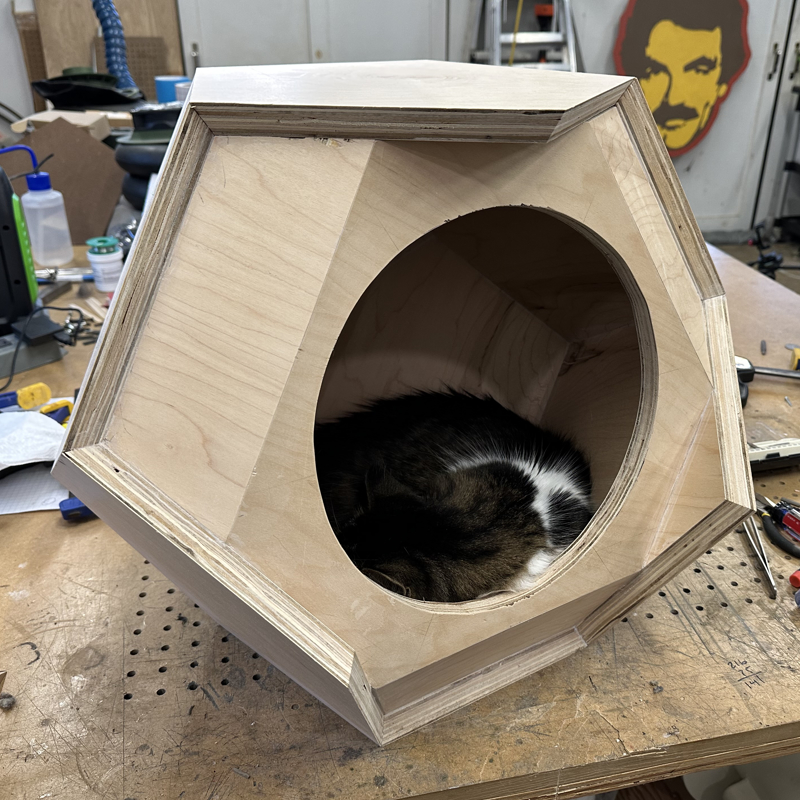


In production these would make fantastic CNC routed parts, as tiny error can add up over 12 sides and the last one won't fit. I built this first prototype cabinet by hand, using some carefully adjusted jigs for the table saw and miter saw. Instead of wood glue I used construction adhesive, which is excellent at bridging small gaps with tremendous strength. The internal bracing stiffens any remaining flexibility in the flat panels, and breaks them up to prevent reflections.
Next I'll circle back to the electronics. More to come...